
Simple Summer Florals
If the past few months have taught me anything, it’s that I love making things from scratch. For example, we’ve stopped buying most bread-based goods like bagels, bread, and cinnamon rolls because I’ve learned to make them myself.
The best part is, I’ve realized it’s not just with baking and cooking, but with crafting projects, as well. I love taking classes and signing up for workshops where I can learn repeatable skills. (Especially if it saves me money in the end!)
Some of my “DIY-highlights” from the past week include:
Homemade ricotta (Recipe here)
Homemade cinnamon rolls (Recipe here)
Macrame wall hanging (which I’m totally obsessed with)!
Saturdays at the Market
As I’ve mentioned before, our Saturday routine typically consists of going to the Farmers’ Market for local produce and fresh flowers. After we get home, I take the next hour or so to make a few floral arrangements.
I signed up for a winter floral arrangement workshop, about a year ago. It was my first real “DIY” class. I went by myself and with zero expectations. In all honesty, all I wanted was to have something that looked similar to the demo piece. I didn’t expect to learn the foundational knowledge of floral arrangements or how to recreate anything other than what was in front of me.
Thanks to that one class, I’m now making multiple arrangements every week all for less than $20!
Basics of Floral Arrangements
Floral arrangements in their most basic form consist of a vessel with water + floral elements + greenery or filler.
The great part about a floral arrangement is that you can spend as little or as much as you’d like. This goes for time, money, and overall effort. I probably spend $10-$15 each week on flowers because it’s something I like to have in the house. But if you’d prefer a more cost-effective option, you could just do greenery-heavy arrangements that could last close to 3 or 4 weeks (depending on how fresh the clippings are).
Theme
Before going shopping, it’s important to think about your theme. Are you going with one dominant color? Are you working off one main texture? What is it that you want to create?
I usually don’t have an arrangement in mind when I get to the market. I typically start thinking about it once I see what flowers and greenery elements are available that day.
Another important thing to think about is your vessel. Think about the size and overall space you want to fill. For example, I have a few wine bottles, vases, and pots that I use for arrangements. So I know that I typically am looking for a more full arrangement for my white pot, and taller, more textured elements for my tall and skinny vase.
Greenery
I’m a huge fan of adding greenery to my arrangements. It usually provides a nice contrast against your floral elements and as an added bonus greenery tends to last longer than traditional flowers. That means you’ll usually be able to reuse those elements for a few weeks (which can save you money)!
I’m also extremely lucky that our local Farmers’ Market has a fresh flower vendor. However, if you don’t have a Farmer’s Market or local vendor near you, Trader Joe’s is another great option! I’ve found so many different types of flowers and greenery, all at a low cost, too!
Getting Started
After you’ve brought home all your fresh flowers and green elements, it’s time to set up your workspace!
Some tools I recommend having on hand include:
Pot or vase (shop my go-to pot here)
Scissors
Scotch tape
Gloves (optional)
1. Fill your vessel with water. It’s kind of a Goldilocks rule here: not too little, but not too much.
2. Next, using the tape, create a grid across the top of the vessel. (Think tic-tac-toe board.) Your grid size will be dependent on the overall size of the vessel you decide to use.
Pro tip: Using a tape grid before placing your flowers keeps your arrangement looking fuller, provides more uniform shape throughout, and avoids your flowers clumping together in the middle.
3. Cut to size, depending on the look you’re wanting to create, you most likely will have to trim your flowers to the right size. This is where your scissors and shears come in handy. For the most part, if you’re just using flowers or lighter items, scissors should be plenty. But some greenery elements might need the shears, specifically branchy or bulky items like eucalyptus.
4. Next, I tend to start with my filler elements. (This could be your greenery or bulkier items.) Using your grid, place the items within the tape holes to get an even, but full look.
5. Then start to add in other smaller elements. Again, building off of the grid and filling in spaces evenly and uniformly.
6. Lastly, I add in my statement pieces. These are typically things I have less of (think bigger flowers or most delicate pieces).
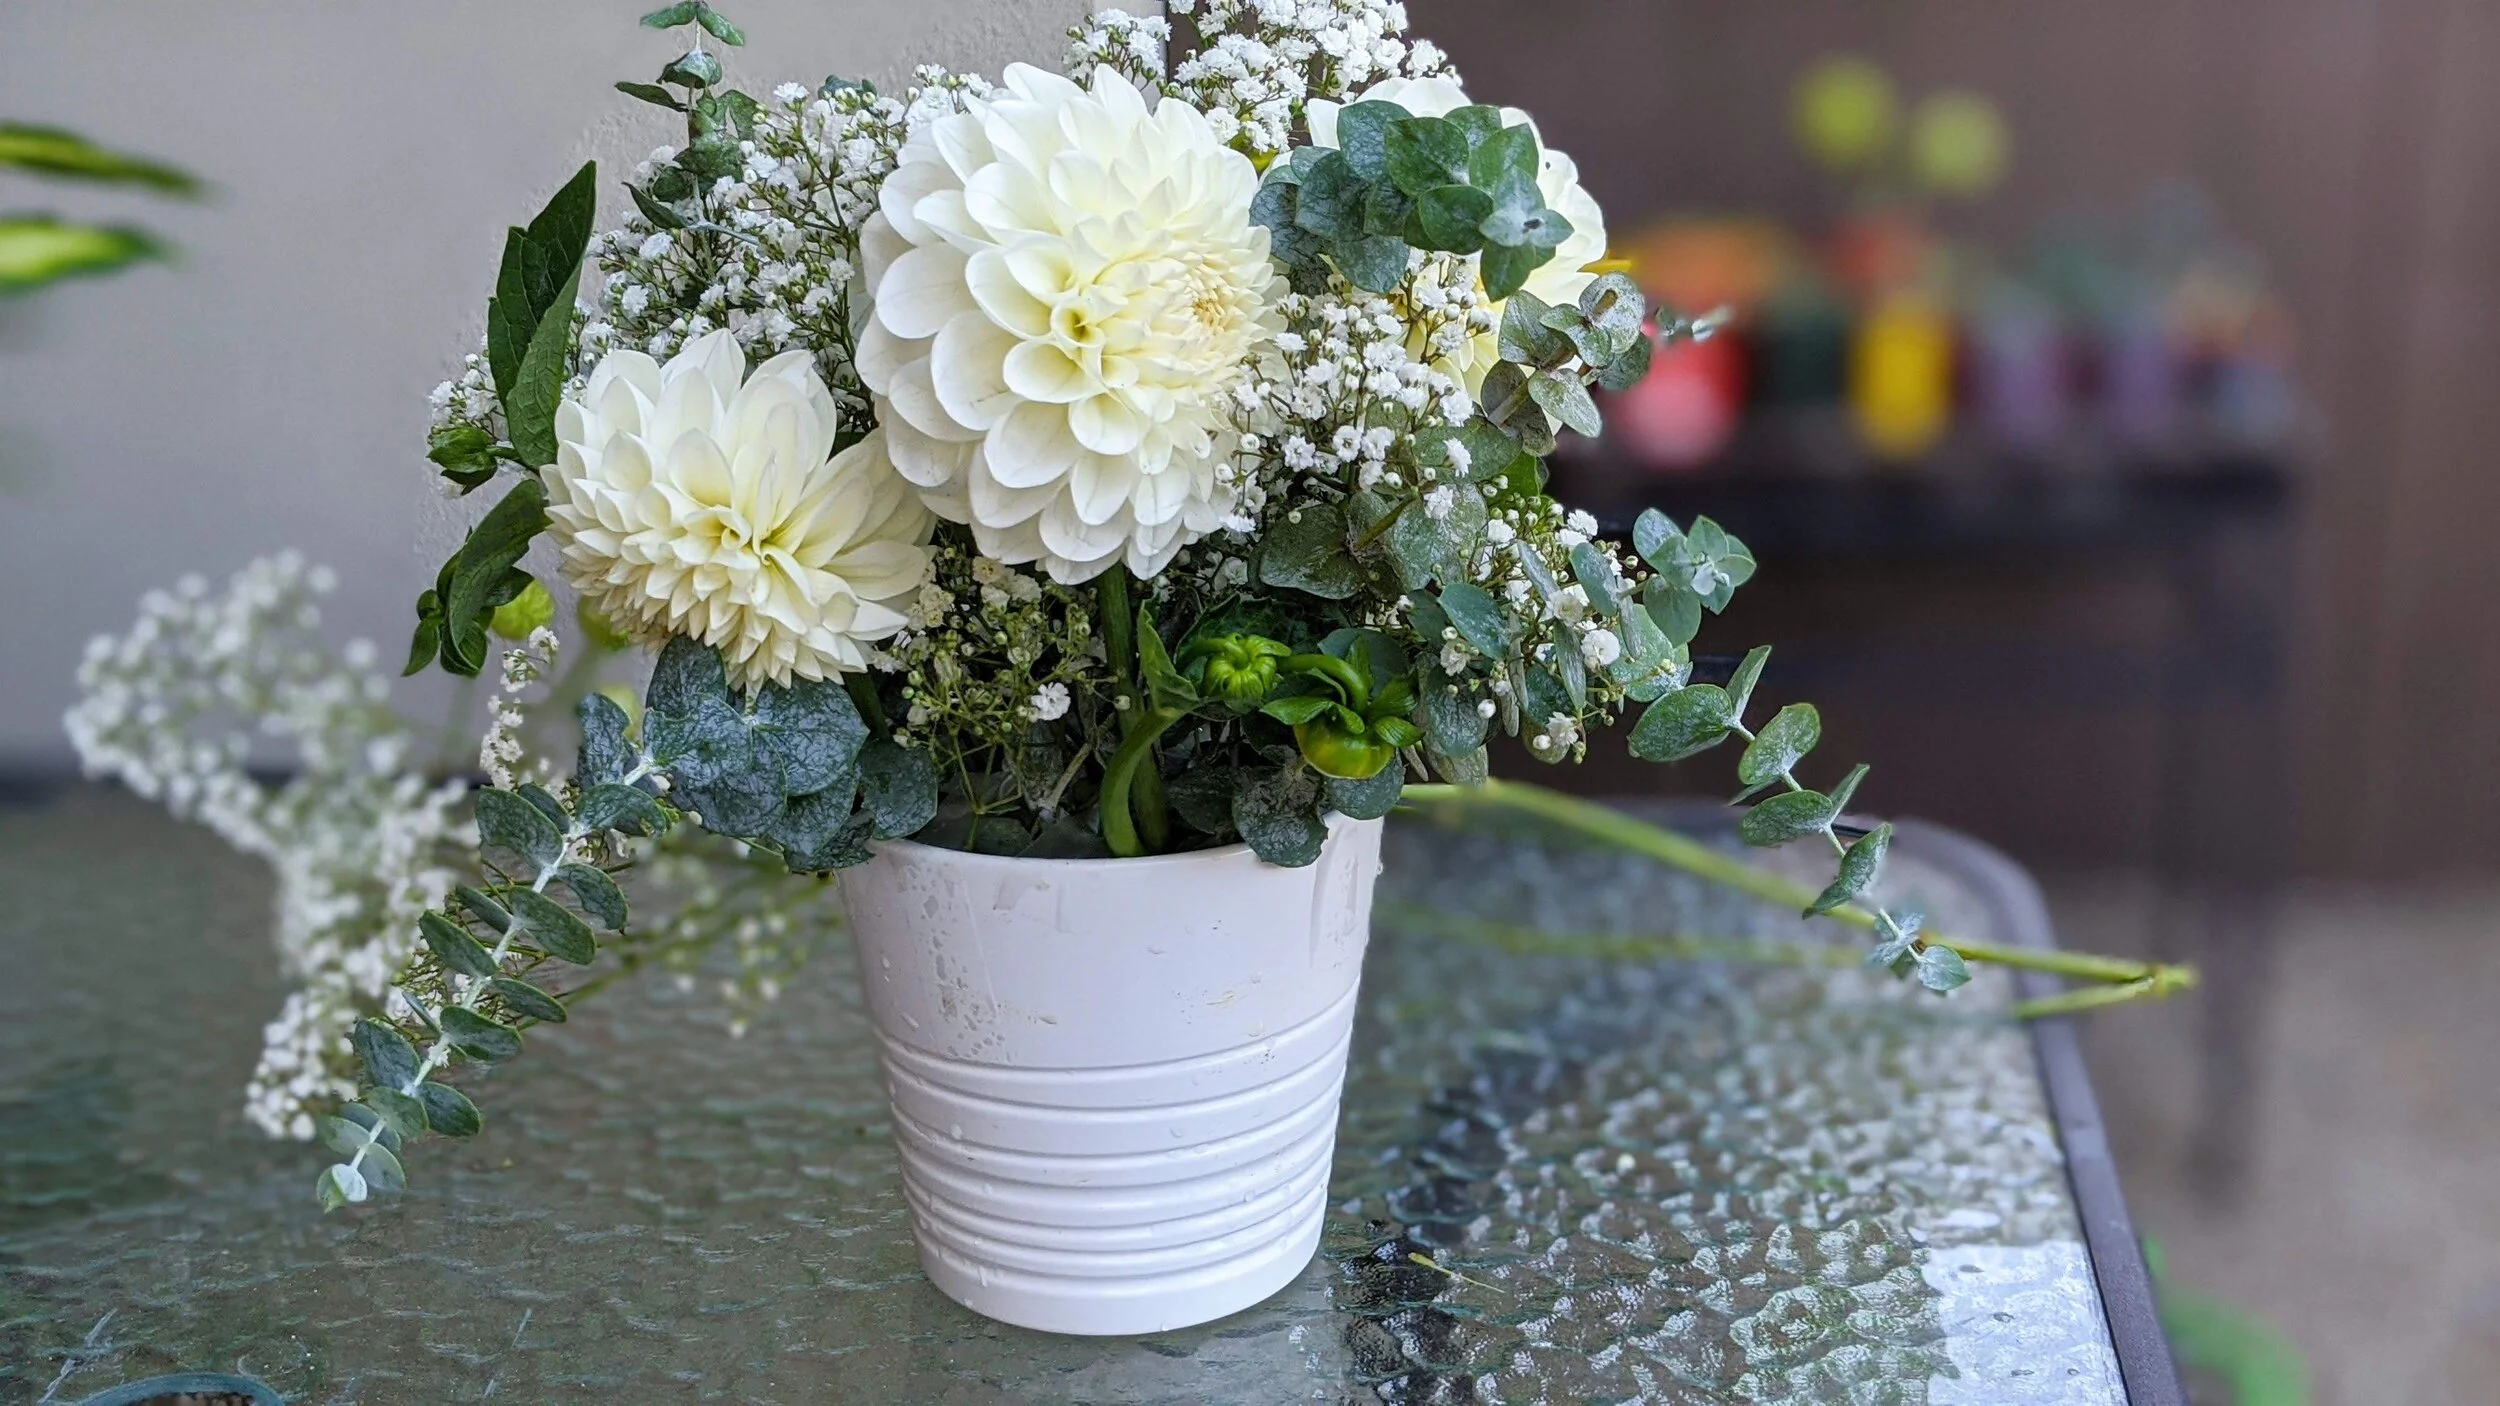
Simple Summer Florals
My most recent arrangement was inspired by the most beautiful white Dahlias! And because I already had Eucalyptus on hand from last week, I only had to buy the Dahlias and some Baby’s Breath as my filler element.
Here’s a timelapse video of my completed arrangement!

This post contains references to products from one or more of our advertisers. I may receive compensation when you click on links to those products. I stand by my opinions and only recommend products that I use.